
Getting started
Install
See the README for installation instructions - Clew isn't on the Community Plugins browser yet, so it's a manual install from the latest release for now.
Open the graph
Once the plugin is enabled, either:
- Click the Clew icon in the left ribbon, or
- Run "Open graph view" from the command palette (
Ctrl/Cmd+P).
The graph builds itself from your vault immediately - every note is a node, every link an edge. No configuration is required to get a useful view.
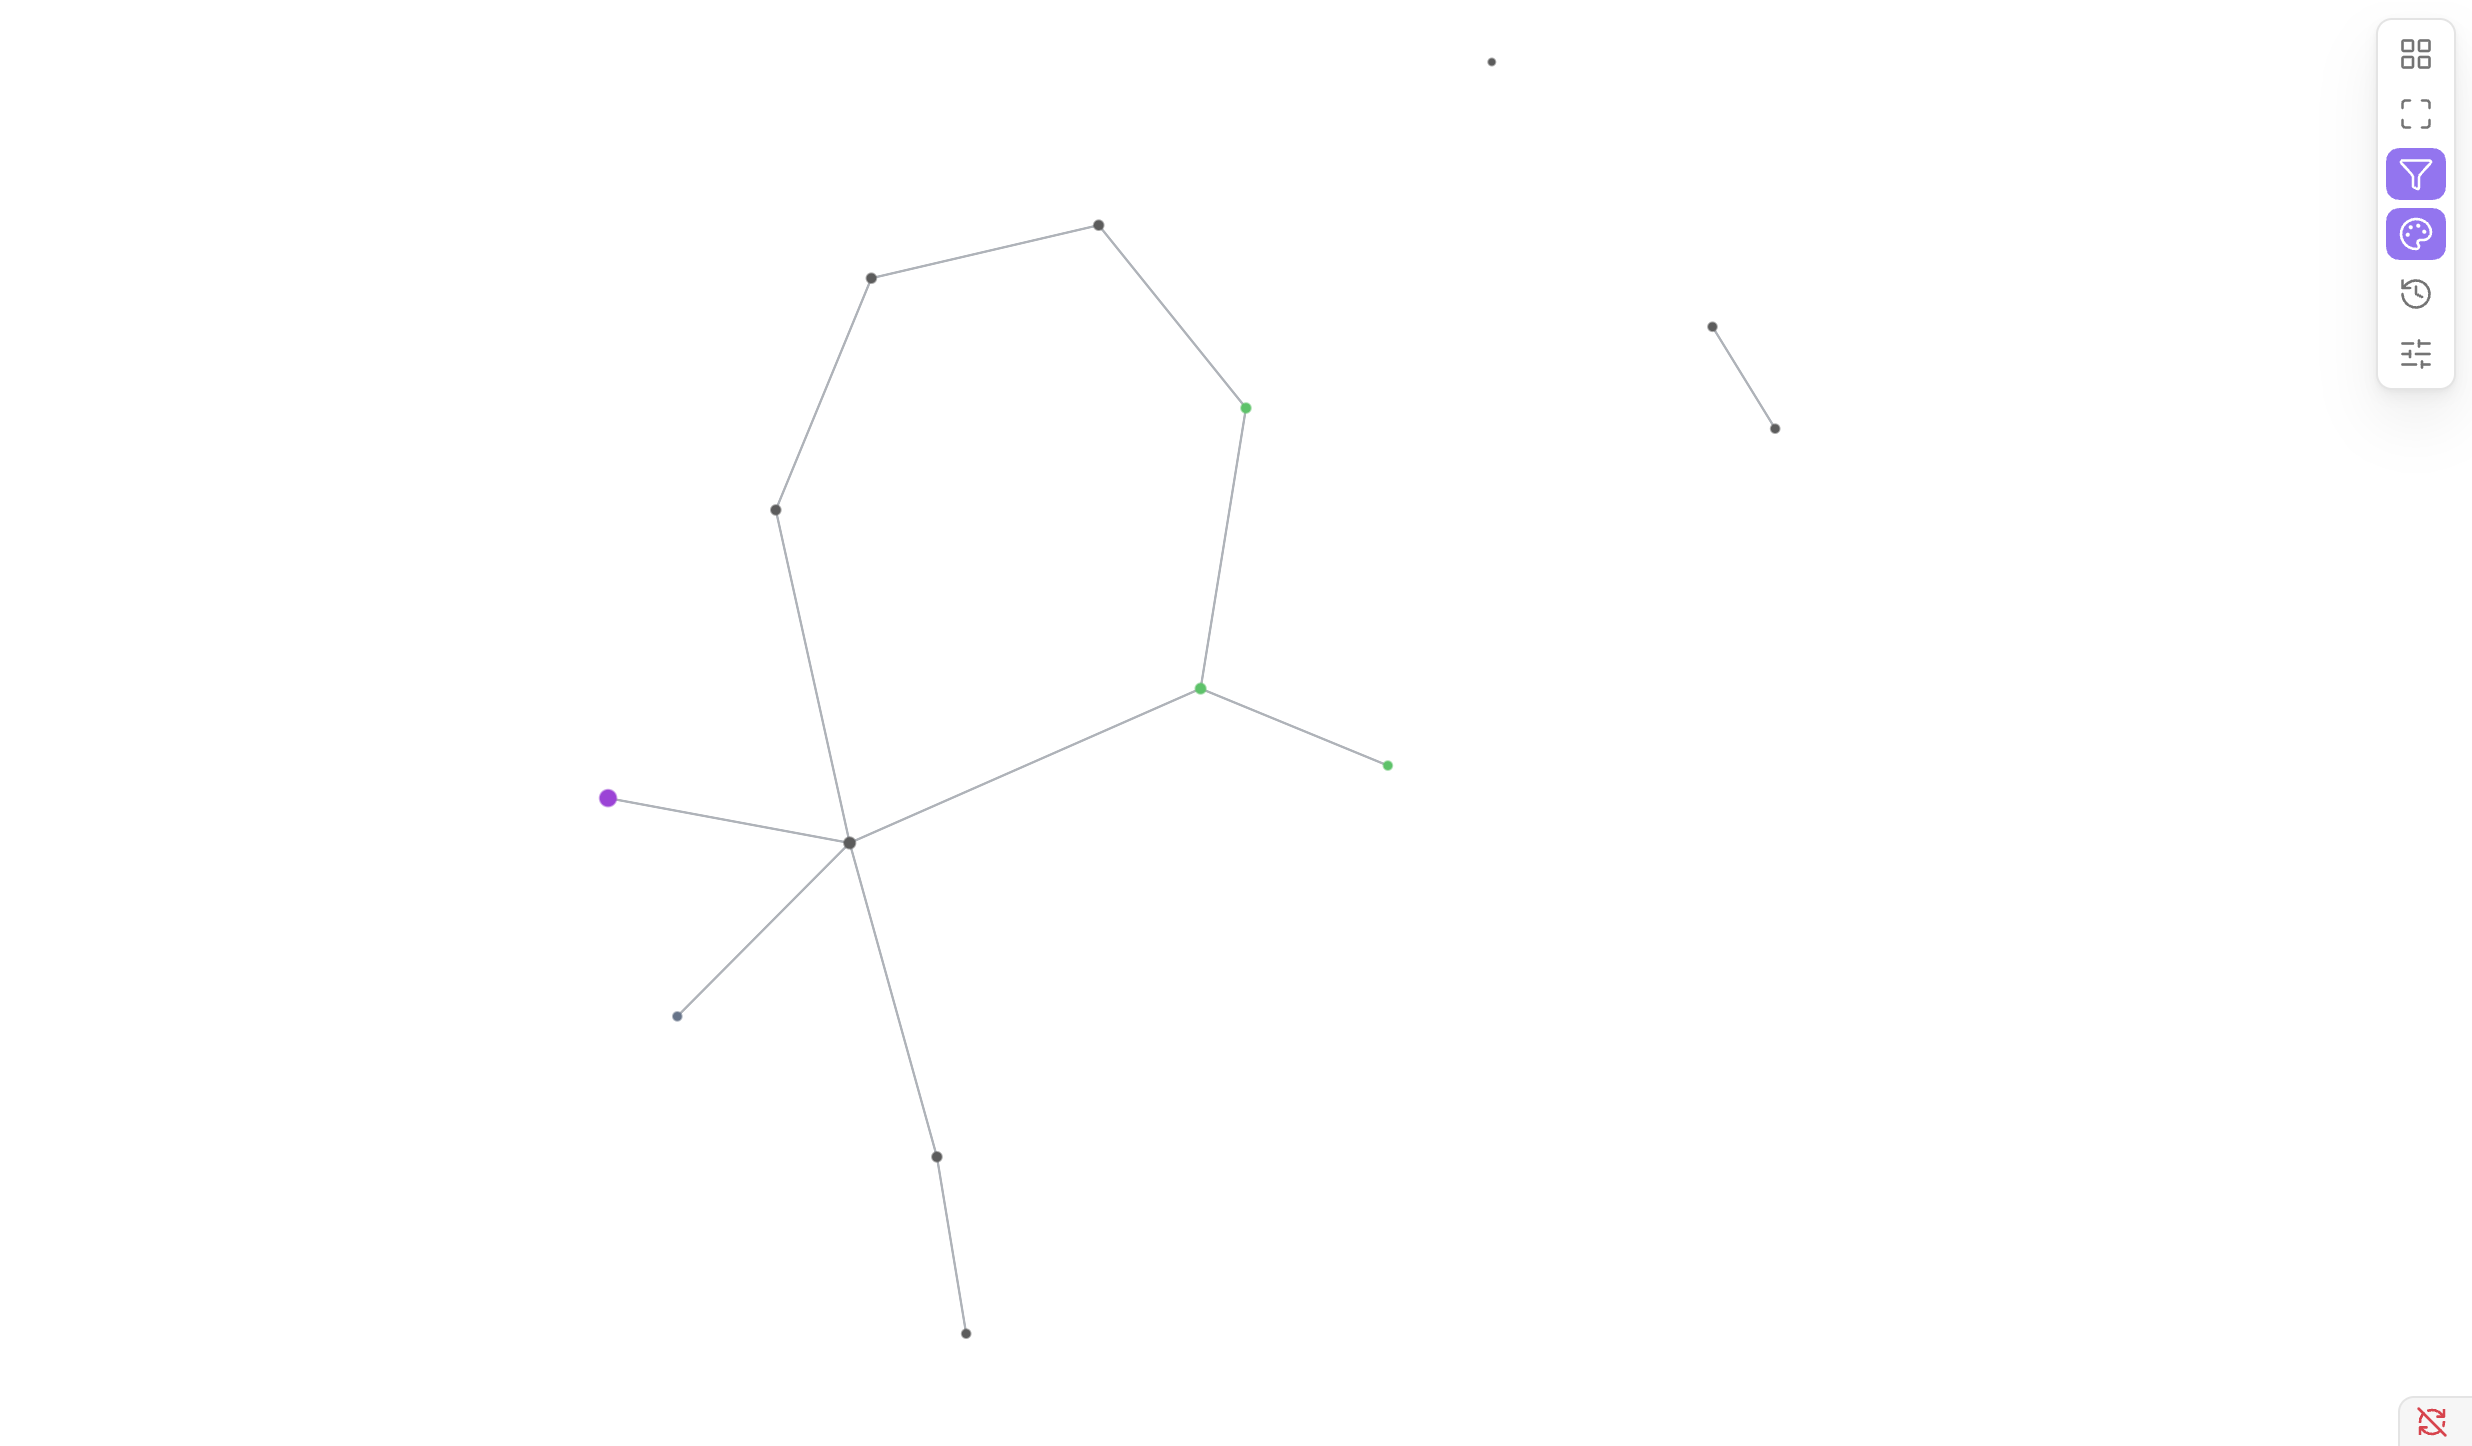
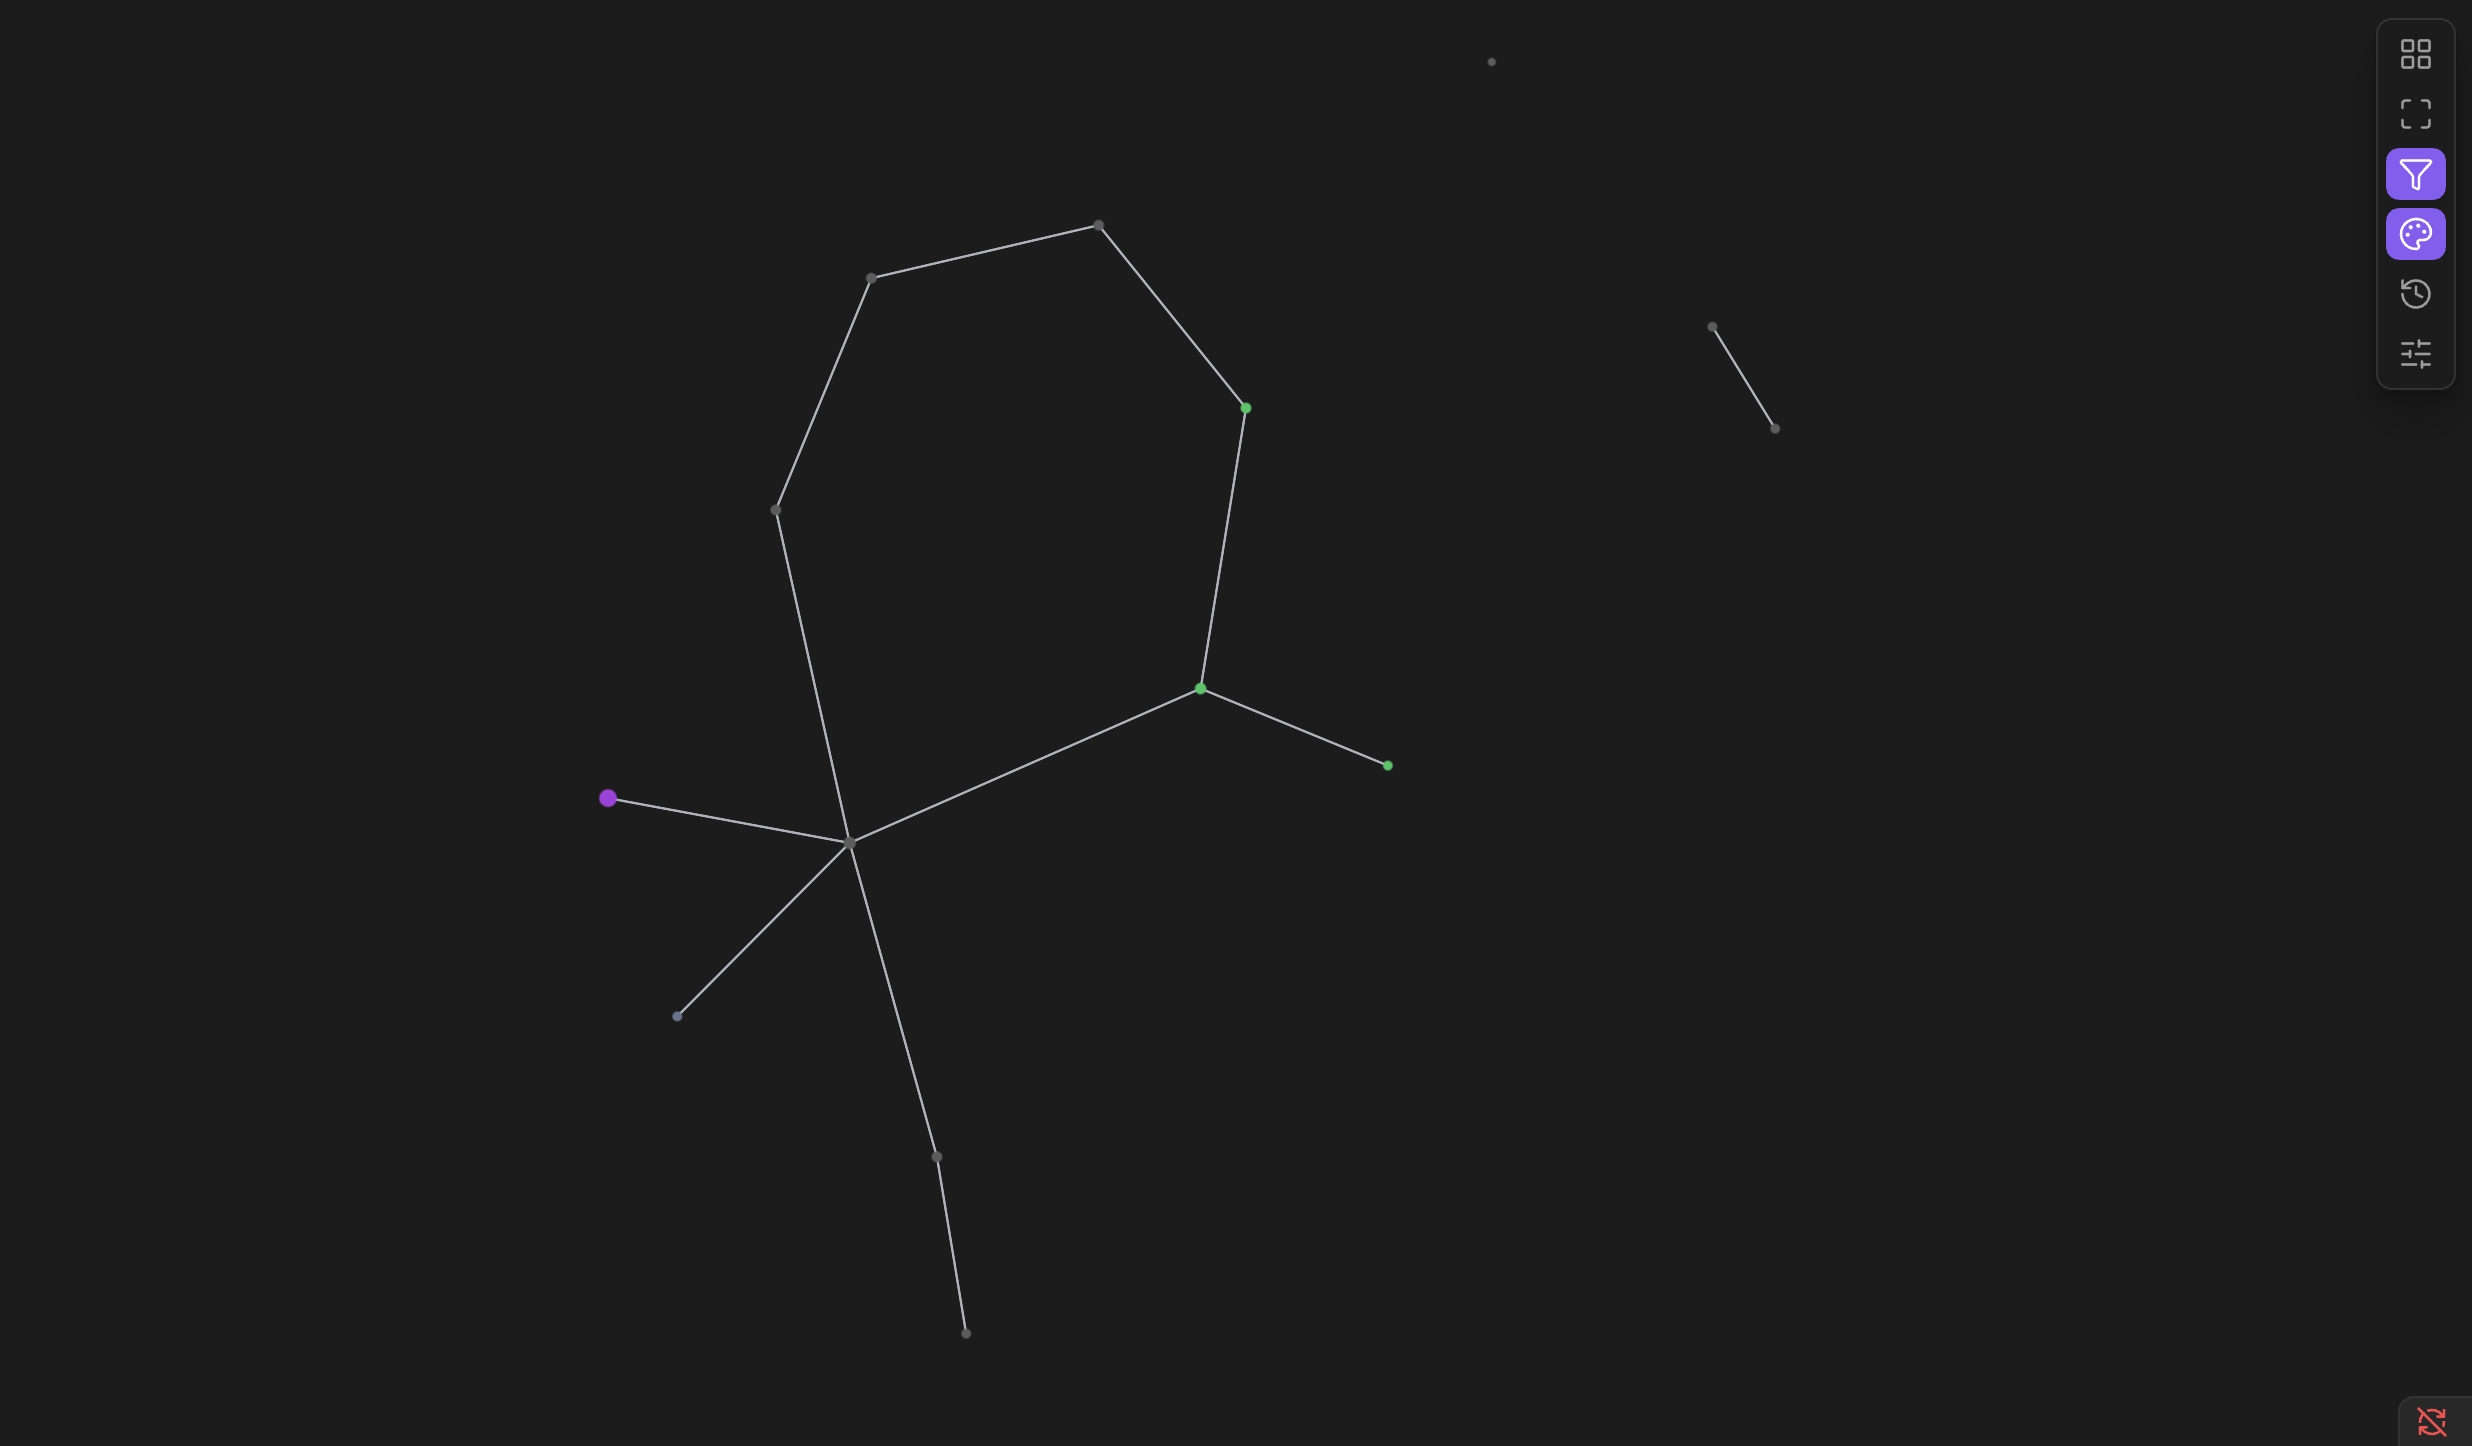
The toolbar
A row of icons sits in the top-left corner of the graph, with any open panel dropping down directly beneath it:
| Icon | Opens |
|---|---|
| Layout | The layout picker |
| Reset view | Re-fits the camera to the whole graph |
| Filter | The Filter panel |
| Color & size | The Color & size panel |
| Find path | The Find path panel - the route through the link graph between two notes |
| Focus | The Focus panel - one note and its neighborhood, everything else hidden |
| Timeline | The Timeline panel |
| Appearance | The Appearance panel |
| Diagnostics | The Diagnostics panel - orphans, broken links, isolated clusters, scattered communities |
| Views | The Saved views panel - save and reapply a whole setup in one click |
Only one panel is ever open at a time - opening one closes whichever other one was open.
Everything else is optional
The rest of this guide covers each panel in turn, but none of it is required - the graph is fully usable the moment you open it. Filters, groups, and saved views you set up are saved per vault and keep applying the next time you open Obsidian.